Blogs
How to Weld Hastelloy: A Step-by-Step Guide for Beginners
Introduction
Welding Hastelloy, a high-performance alloy known for its exceptional resistance to corrosion and heat, requires a strategic approach to achieve optimal results. As industries increasingly rely on this versatile material for critical applications, understanding the essential tools, techniques, and safety protocols becomes paramount. From selecting the right welding machine to implementing rigorous post-weld inspections, each step plays a crucial role in ensuring the integrity of the welds.
This article delves into the comprehensive process of welding Hastelloy, highlighting common pitfalls to avoid and emphasizing safety measures that protect both the welder and the work environment. By mastering these elements, professionals can enhance their welding proficiency and produce robust, reliable joints that stand the test of time.
Essential Tools and Equipment for Welding Hastelloy
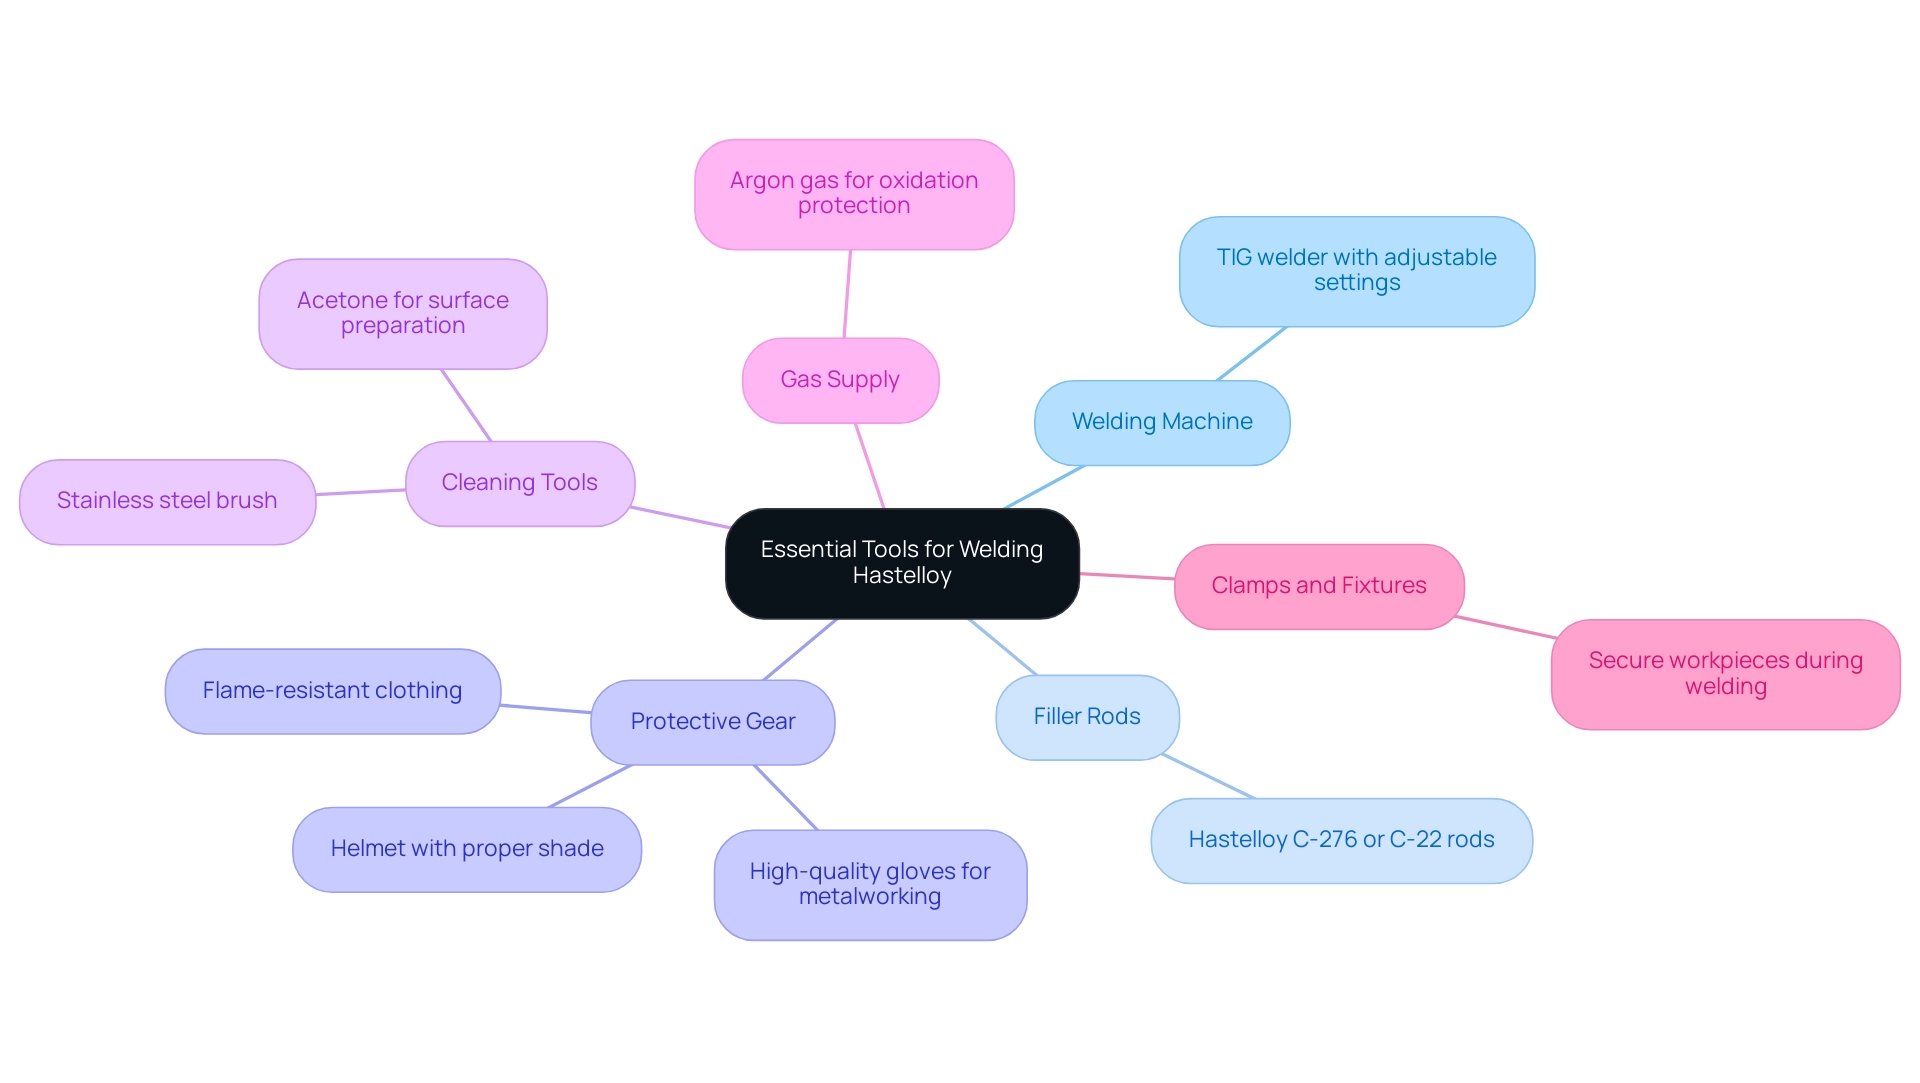
To successfully weld this metal alloy, you will need the following essential tools and equipment:
- Welding Machine: A TIG (Tungsten Inert Gas) welder is suggested for joining this alloy. Ensure it has adjustable settings to control heat.
- Filler Rods: Select filler rods compatible with Hastelloy, such as Hastelloy C-276 or C-22 rods, to ensure a strong joint.
- Protective Gear: Invest in high-quality protective gear, including gloves for metalworking, a helmet with a proper shade, and flame-resistant clothing.
- Cleaning Tools: Cleanliness is essential in metal joining. Use a stainless steel brush and acetone to prepare the surfaces before welding.
- Gas Supply: Argon gas is commonly utilized in TIG processes to protect the joint area from oxidation.
- Clamps and Fixtures: These will help secure the workpieces in place during the welding process, ensuring accuracy and stability.
Gathering these tools before starting will streamline the welding process and enhance safety and effectiveness.
Step-by-Step Welding Process for Hastelloy
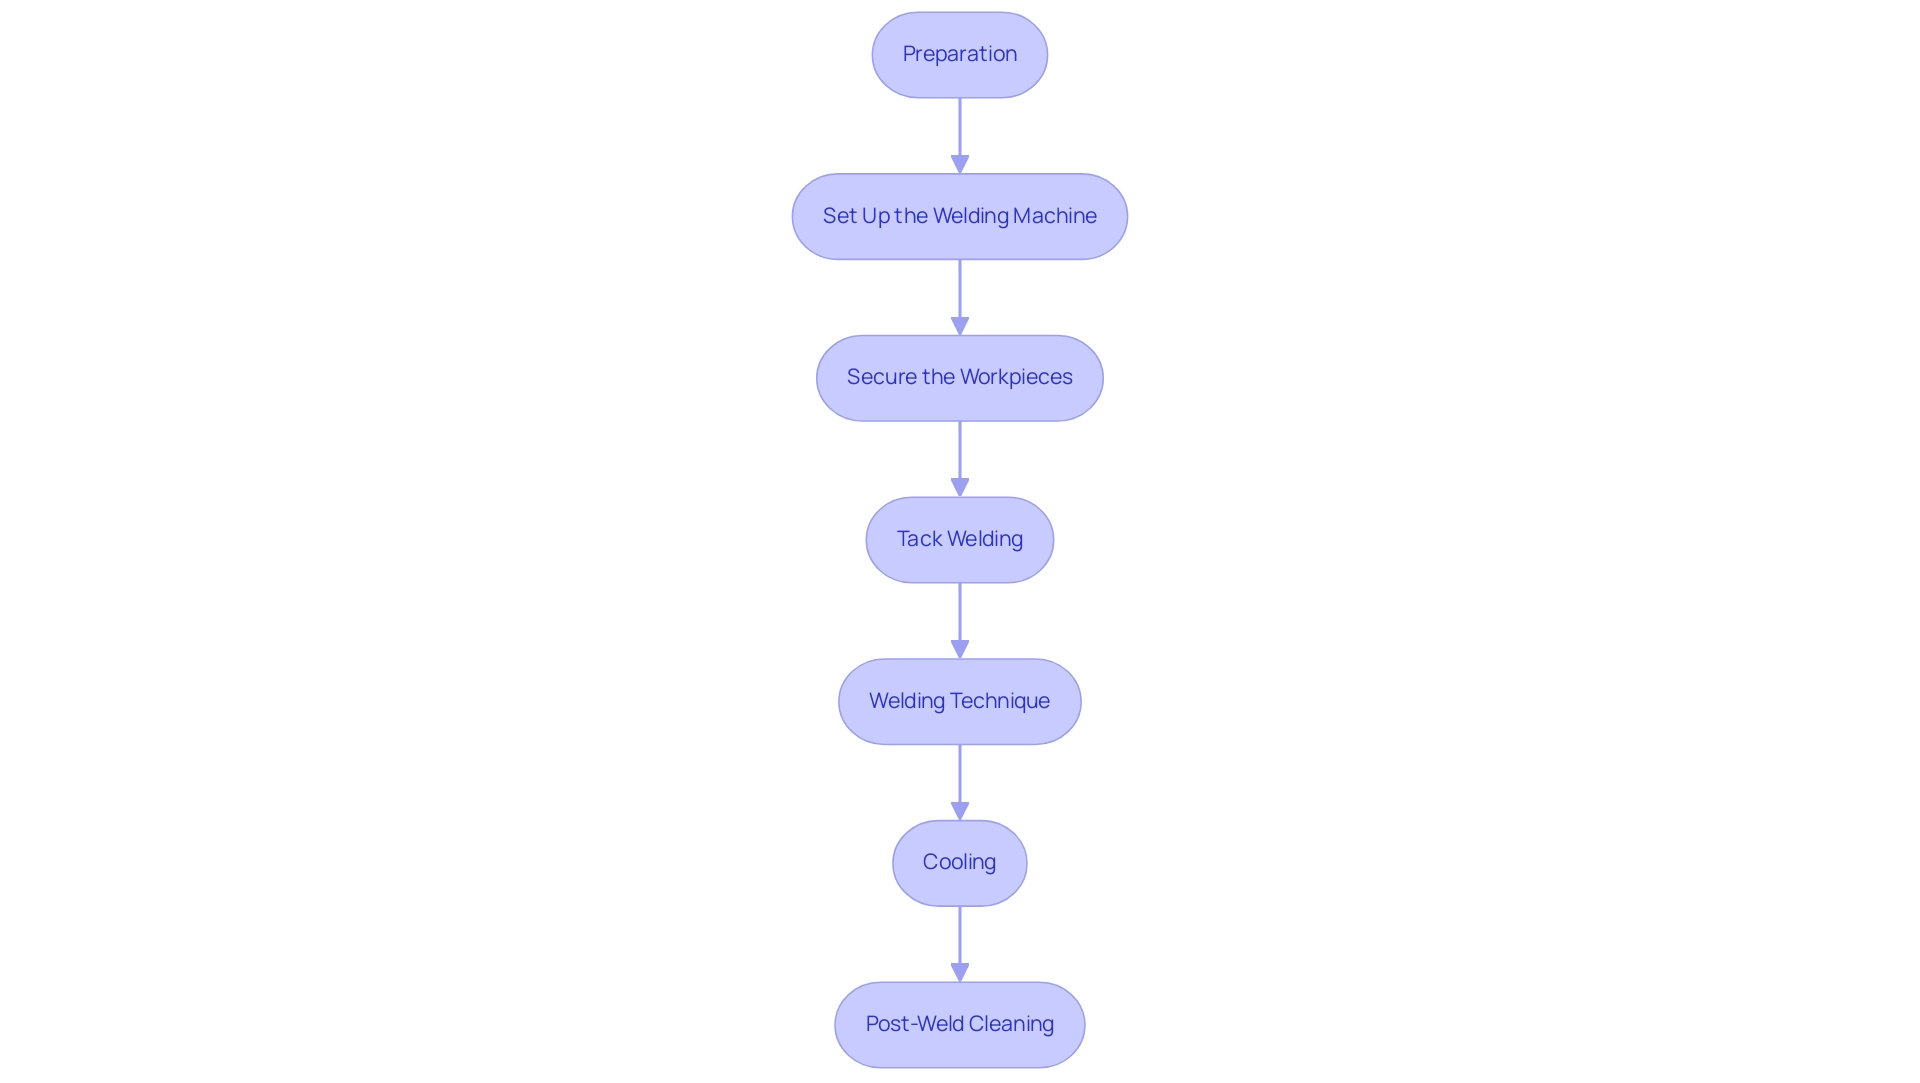
Follow these steps to weld this alloy effectively:
- Preparation: Begin by cleaning the surfaces of the metal pieces to be welded. Use a stainless steel brush and acetone to remove any contaminants, ensuring a clean welding surface.
- Set Up the Welding Machine: Adjust the settings on your TIG welder to the appropriate amperage for the thickness of the Hastelloy being welded. Consult the manufacturer’s specifications for guidance.
- Secure the Workpieces: Use clamps and fixtures to hold the pieces in place, ensuring they are aligned correctly for welding.
- Tack Welding: Start with tack welds at several points along the joint to hold the pieces together. This will prevent warping and misalignment during the complete fabrication process.
- Welding Technique: Begin welding by holding the TIG torch at a 15-20 degree angle. Move the torch steadily along the joint, adding filler rod as needed. Maintain a consistent speed and distance to ensure even heat distribution.
- Cooling: After completing the joint, allow it to cool naturally. Avoid using water or forced cooling methods, as this can lead to cracking.
- Post-Weld Cleaning: Once cooled, clean the weld area with a stainless steel brush to remove any oxidation or impurities that may have formed during welding.
By following these steps meticulously, beginners can successfully weld this alloy, resulting in strong, reliable joints suitable for various applications.
Safety Precautions When Welding Hastelloy
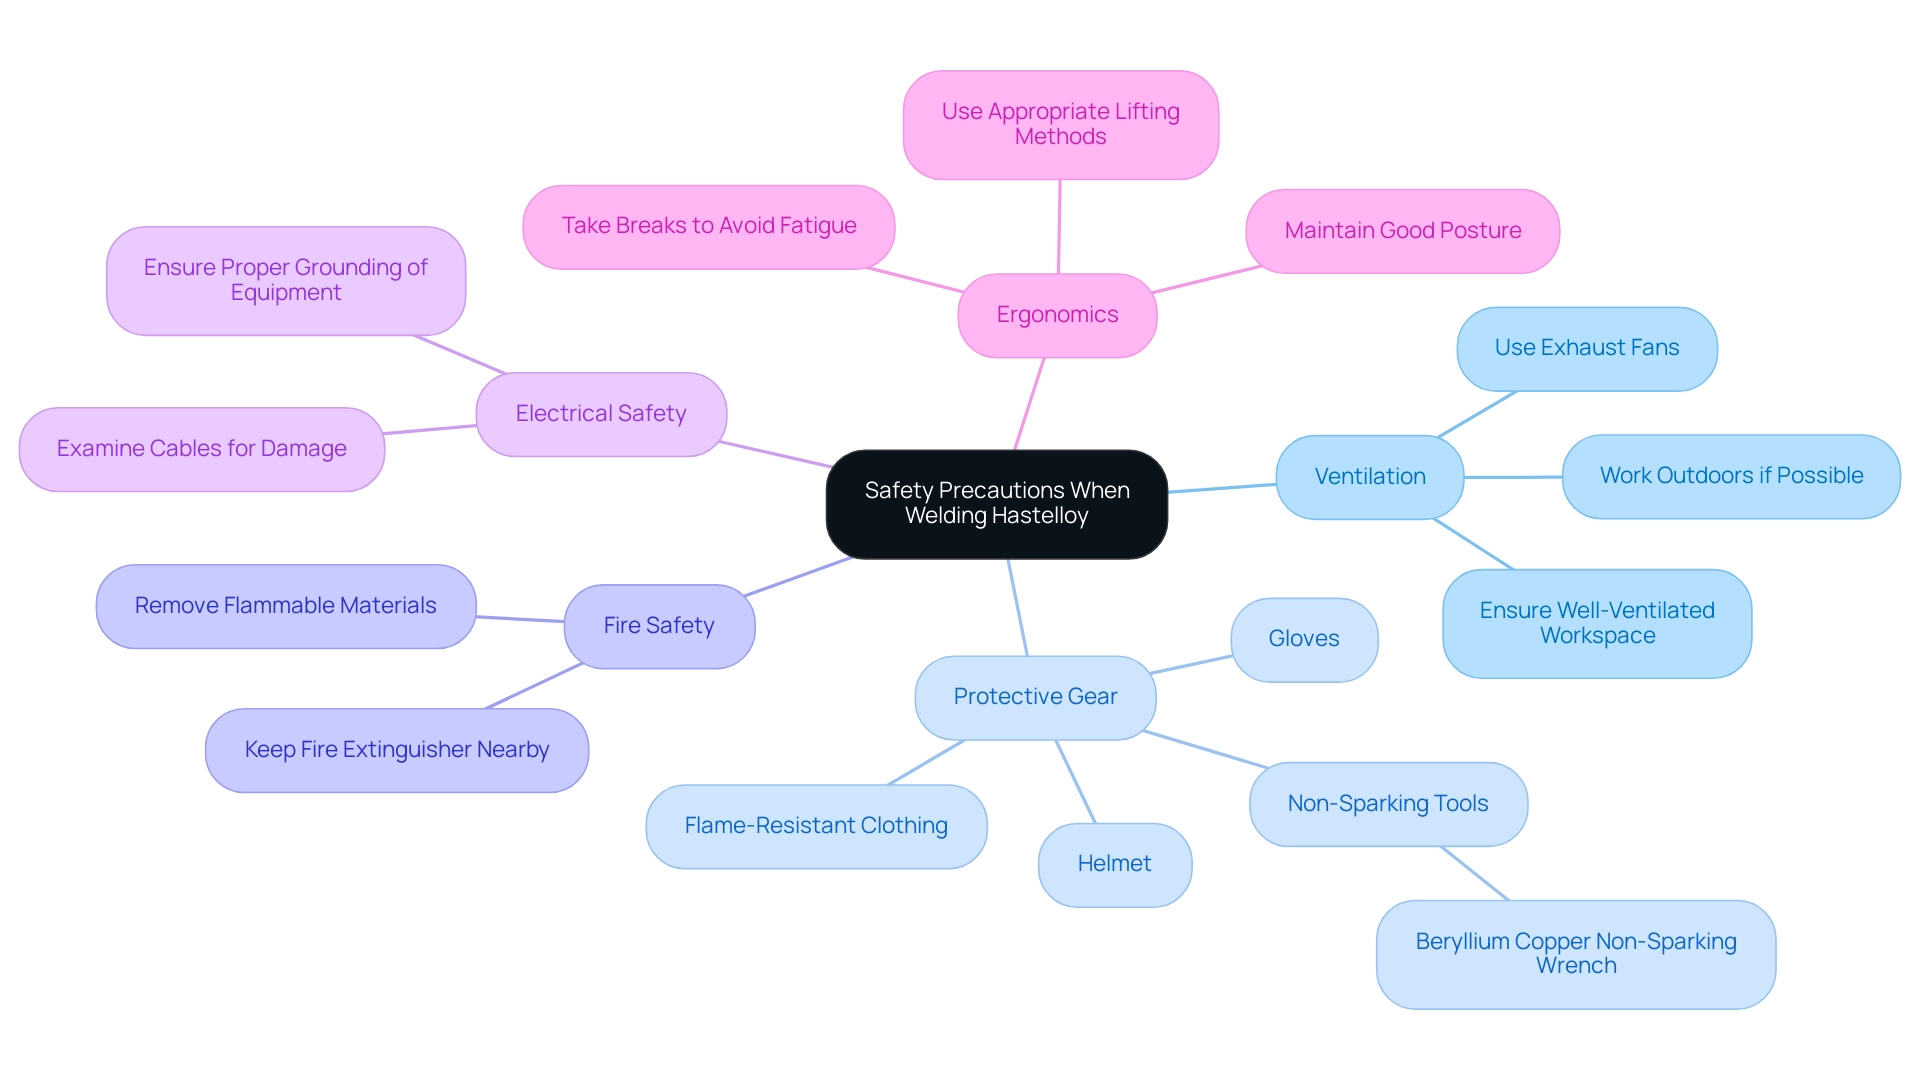
When joining Hastelloy, adhere to the following safety precautions, especially in environments with explosive potential:
- Ventilation: Ensure the workspace is well-ventilated to avoid inhaling harmful fumes. Use exhaust fans or work outdoors if possible.
- Protective Gear: Always wear suitable protective equipment, including a helmet, gloves, and flame-resistant clothing, to shield yourself from sparks and UV radiation. Additionally, consider using Non-Sparking Tools, such as the Beryllium Copper Non-Sparking Wrench, which is the best alternative for non-sparking applications, to minimize the risk of igniting flammable materials.
- Fire Safety: Keep a fire extinguisher nearby and ensure that flammable materials are removed from the work area to prevent fire hazards. Non-Sparking Tools, especially the Beryllium Copper Non-Sparking Wrench, play a crucial role in ensuring protection in such environments due to their ability to prevent sparks that could ignite fires.
- Electrical Safety: Be cautious when working with electrical equipment. Examine cables for damage and ensure that the soldering machine is properly grounded.
- Ergonomics: Maintain good posture and take breaks to avoid fatigue. Employ appropriate lifting methods when dealing with heavy materials.
Implementing these protective measures, in conjunction with the use of Non-Sparking Tools, will contribute to establishing a secure environment for welding, significantly lowering the risk of accidents and injuries. The Beryllium Copper Non-Sparking Wrench, recognized for its durability and protective features, is especially effective in explosive environments. Read more about the advantages of Non-Sparking Tools to enhance your safety practices.
Common Mistakes to Avoid When Welding Hastelloy
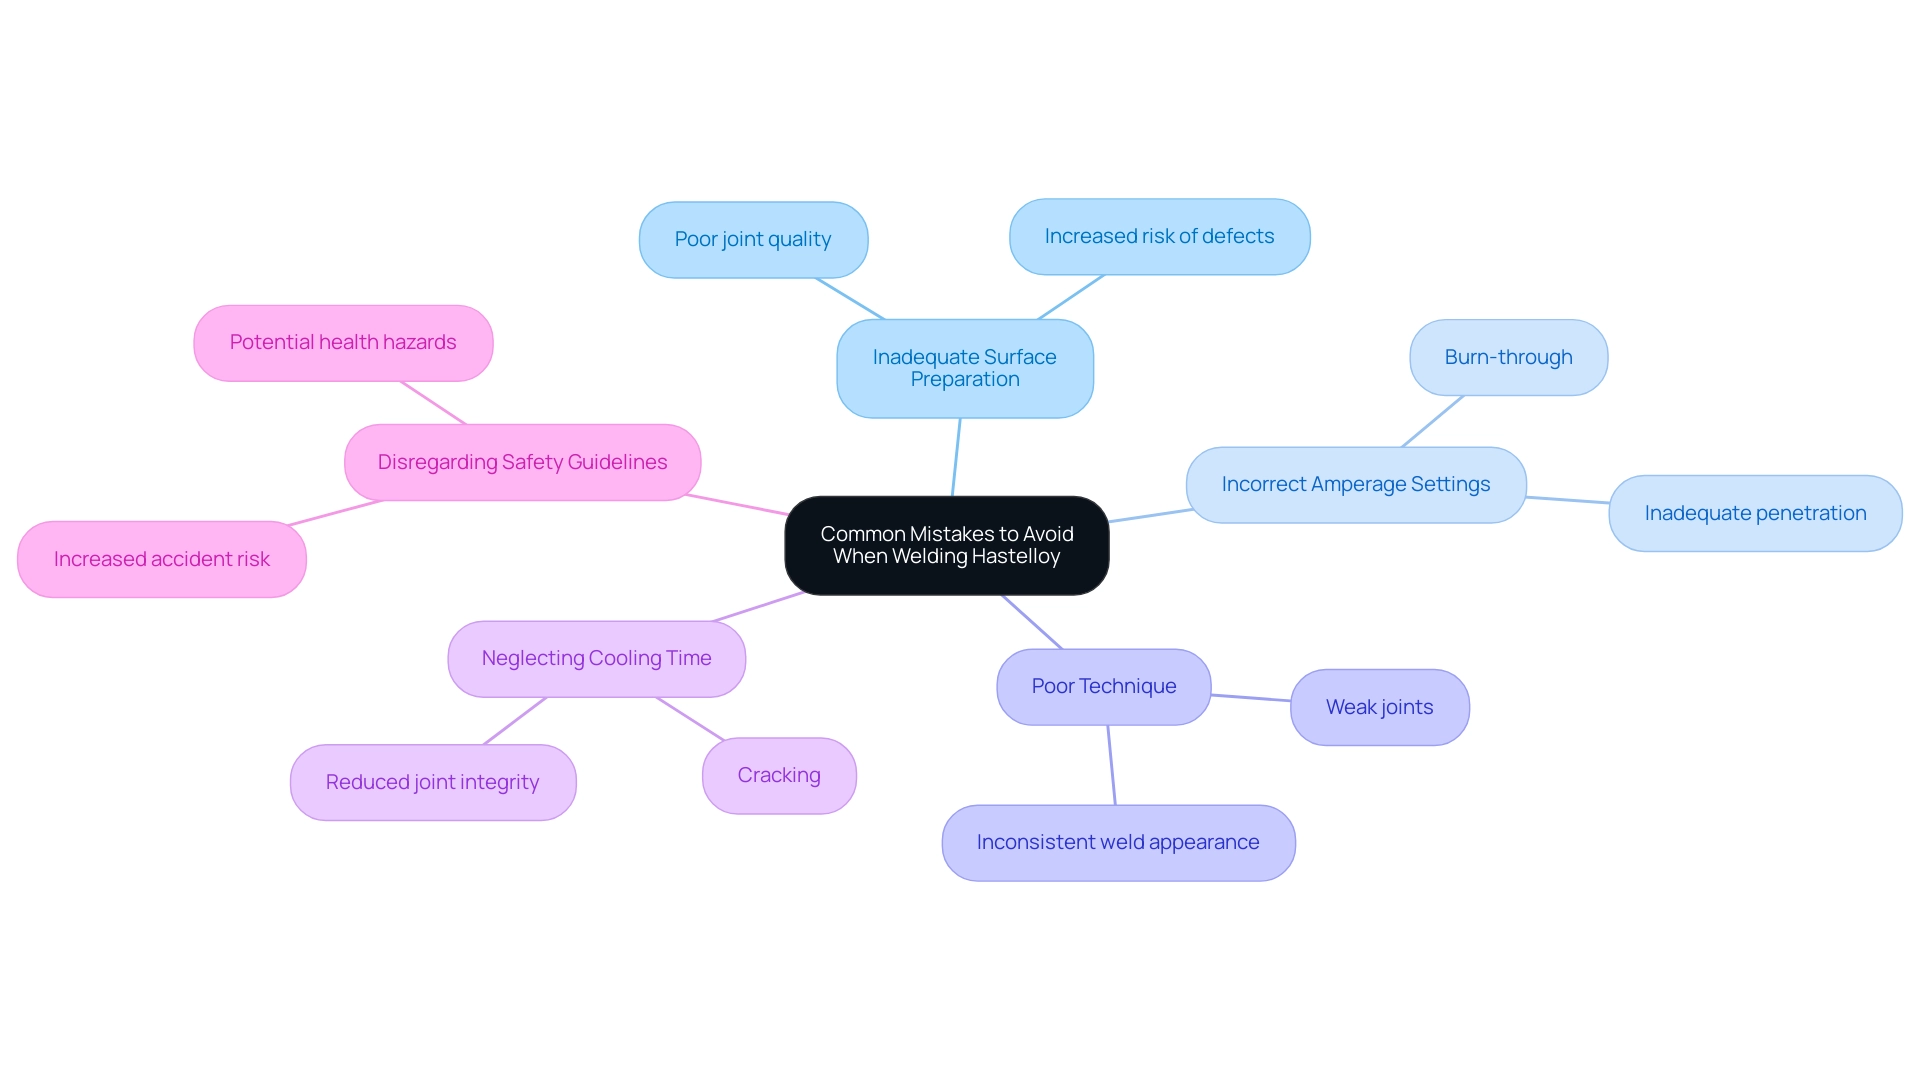
To improve your welding skills, be mindful of these common mistakes:
- Inadequate Surface Preparation: Failing to clean the surfaces thoroughly can lead to poor joint quality. Always ensure surfaces are free of contaminants.
- Incorrect Amperage Settings: Using the wrong amperage can cause burn-through or inadequate penetration. Refer to the material thickness to set the correct amperage.
- Poor Technique: Inconsistent torch movement or incorrect angles can result in weak joints. Practice maintaining a steady hand and the correct angle throughout the weld.
- Neglecting Cooling Time: Rapid cooling can cause cracking. Allow the weld to cool naturally to maintain the integrity of the joint.
- Disregarding Safety Guidelines: Overlooking protective measures can lead to serious accidents. Always prioritize safety in your metalworking practices.
By being aware of these mistakes, beginners can enhance their proficiency and produce higher-quality results.
Post-Weld Inspection and Testing
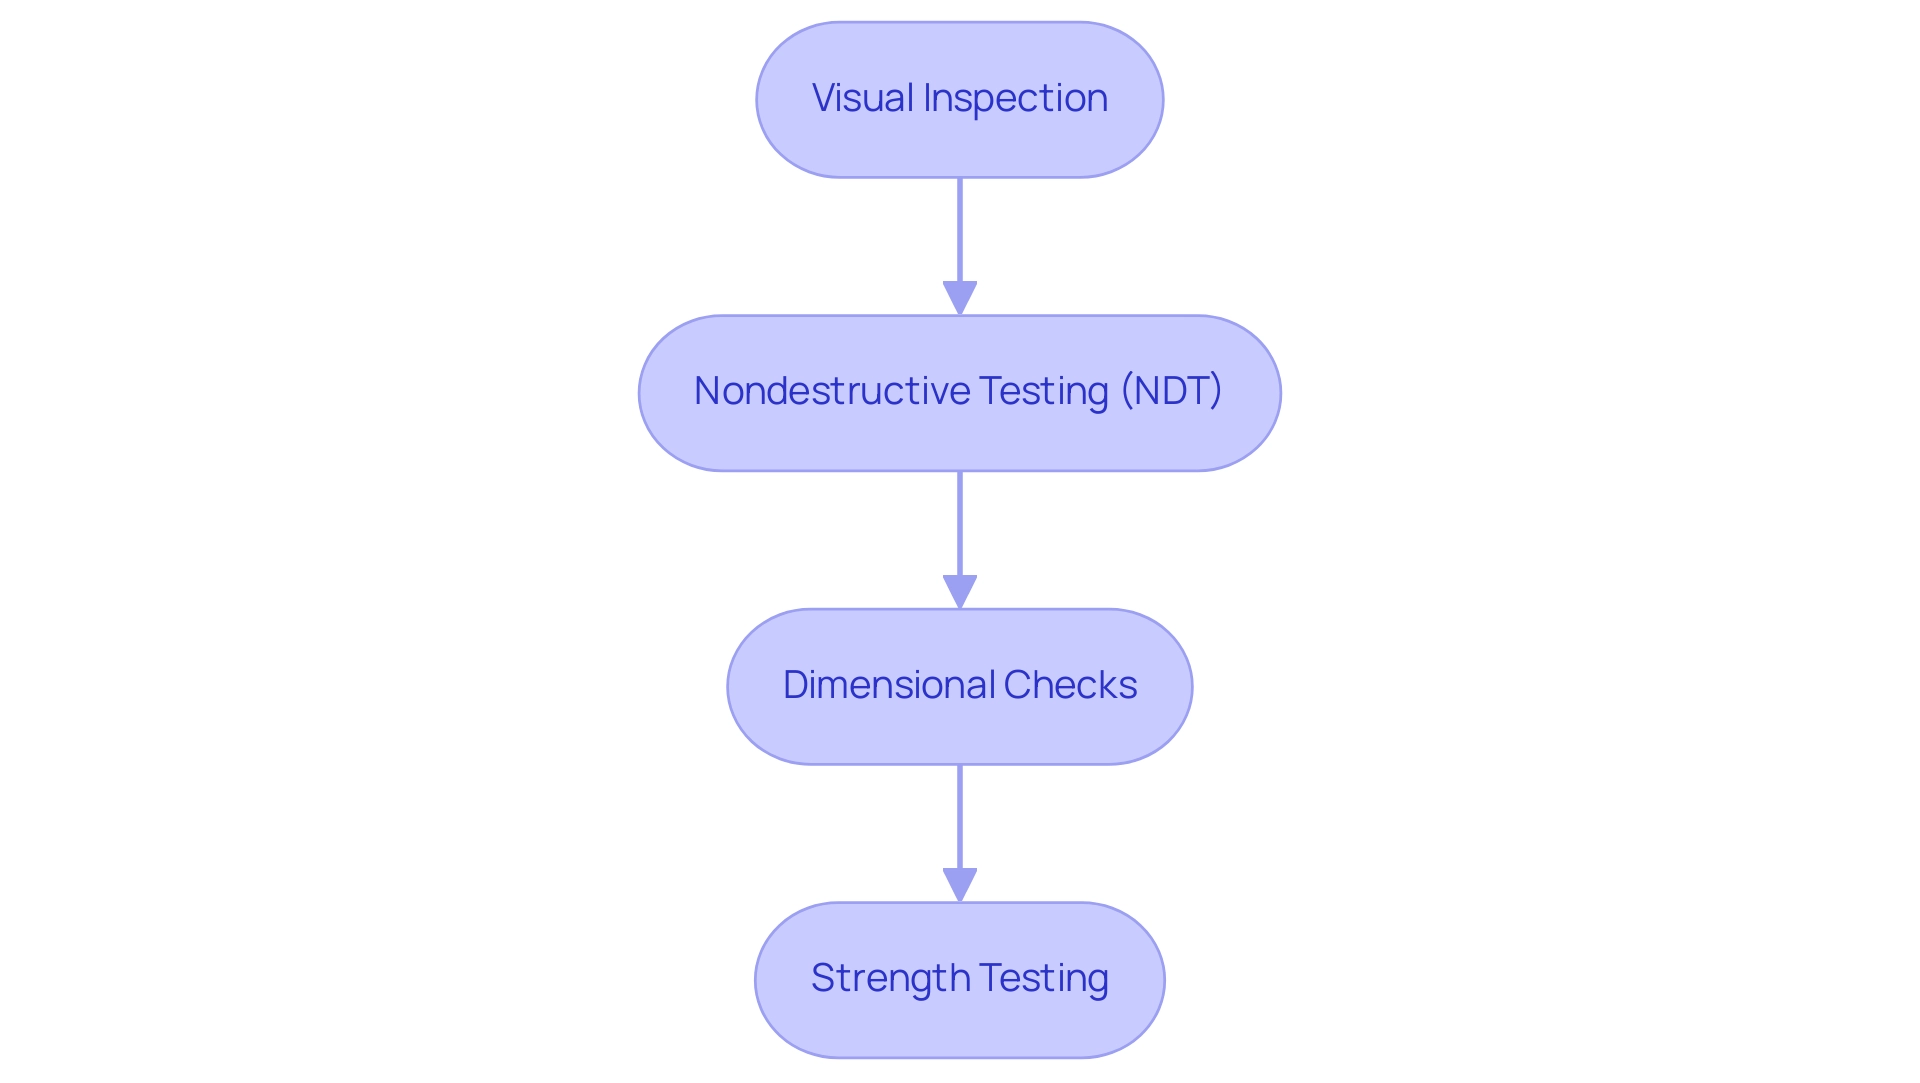
After welding Hastelloy, conduct the following inspections and tests:
- Visual Inspection: Examine the joint for any visible defects, such as cracks, porosity, or inconsistent bead appearance. A smooth, even bead indicates a good weld.
- Nondestructive Testing (NDT): Consider performing NDT methods like ultrasonic testing or dye penetrant testing to assess joint integrity without damaging the connection.
- Dimensional Checks: Measure the dimensions of the joint to ensure they meet specifications. Check for proper alignment and fit-up of the welded parts.
- Strength Testing: If applicable, conduct tensile tests to evaluate the strength of the joint. This may be necessary for critical applications.
Performing these inspections and tests will help ensure that your welds are reliable and suitable for their intended application.
Conclusion
Achieving excellence in welding Hastelloy is a multifaceted process that demands attention to detail and adherence to best practices. By equipping oneself with the right tools, such as a TIG welder, compatible filler rods, and proper protective gear, professionals can lay the groundwork for successful welds. The step-by-step approach to welding, from meticulous surface preparation to careful execution and cooling, is crucial for producing strong, reliable joints.
Moreover, prioritizing safety is non-negotiable in the welding environment. Implementing stringent safety measures—such as ensuring adequate ventilation, using non-sparking tools, and maintaining proper electrical safety—protects both the welder and the workspace. Awareness of common pitfalls, like inadequate surface preparation and incorrect amperage settings, can further enhance welding proficiency and the overall quality of the work.
Finally, conducting thorough post-weld inspections and testing is essential to confirm the integrity of the welds. Employing visual assessments alongside nondestructive testing methods ensures that the joints meet the necessary specifications for their intended applications. By mastering these elements, welders can ensure their projects not only meet industry standards but also withstand the rigors of time and use, reinforcing the critical role of skilled welding in various industrial applications.

